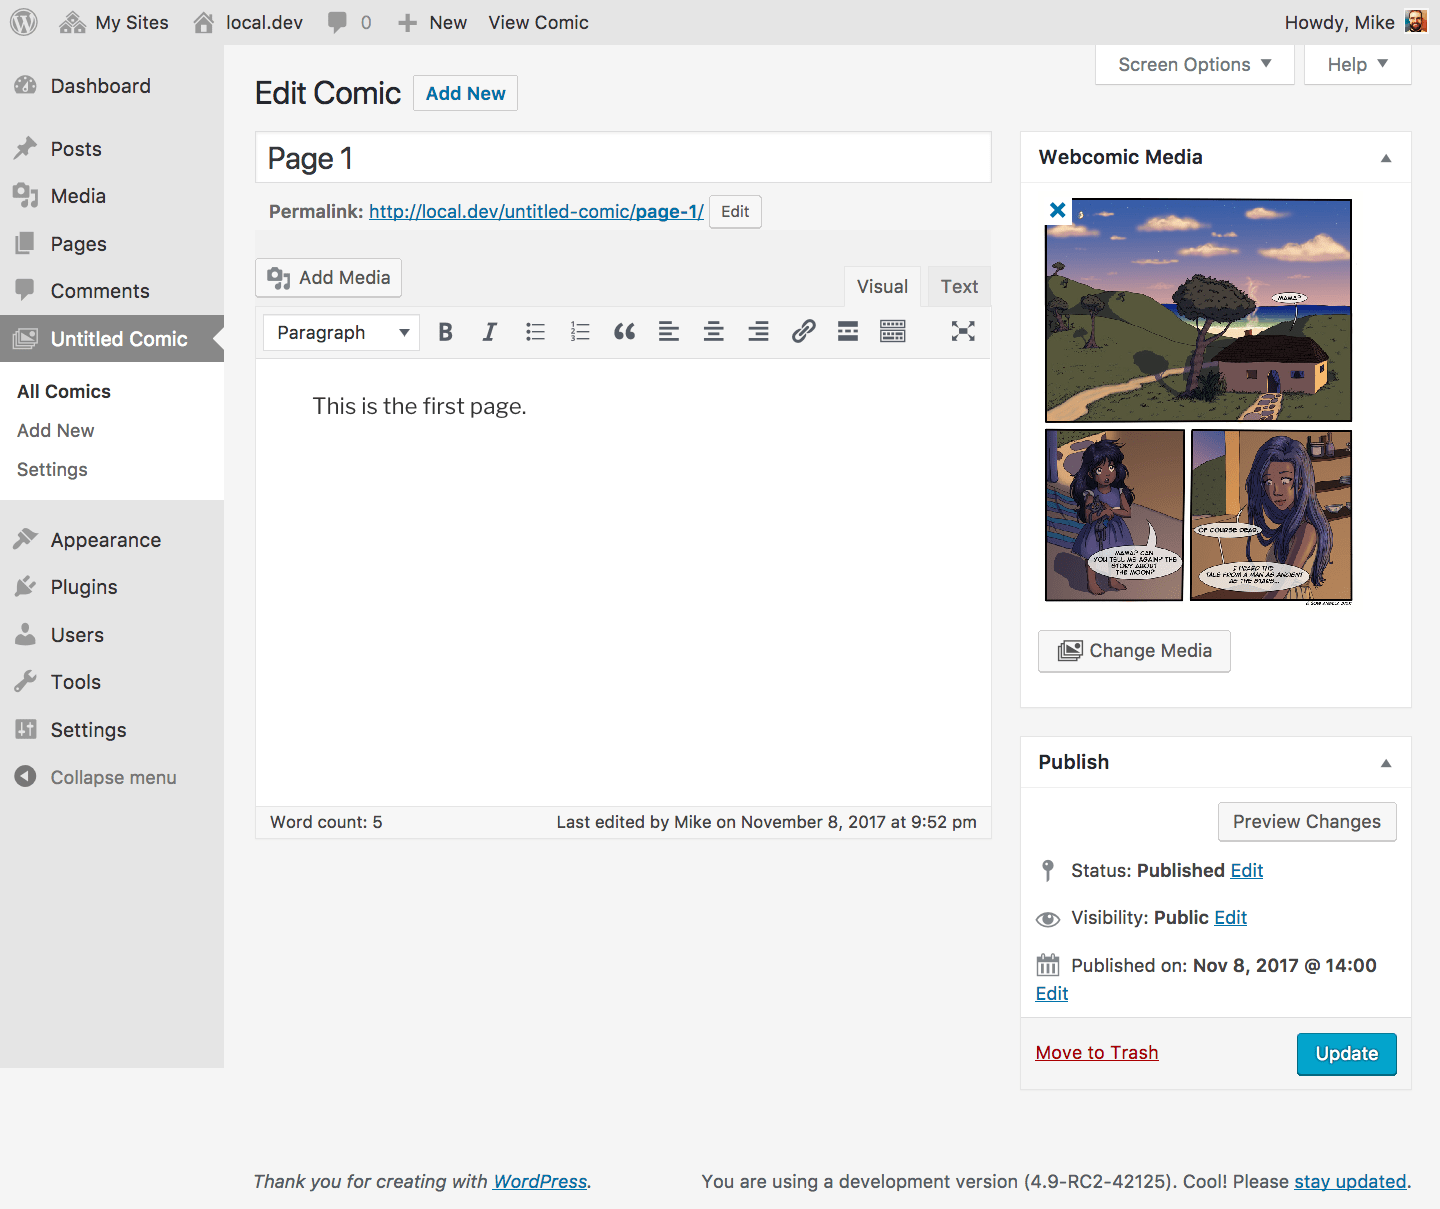
This is the Add/Edit Comic screen, where you’ll be spending a lot of your time in Webcomic. Most of the comic-related tasks you’ll want to do – publishing new comics, editing existing comics, writing blog posts to go with comics, and more – will happen here. You may notice that it’s a lot like the Add/Edit Post screen, with one notable exception: the Webcomic Media box.
Comic media
The Webcomic Media box is the crucial item that separates comics from a post or page; it’s where you’ll associate your actual comic media – the image or images that make up your actual comic – with your Webcomic comic. You should see an Add Media button in this box, looking a lot like the Add Media button above the content area. Though similar, these buttons serve different purposes.
The Add Media button above the content area is for inserting media into the content – or blog – area of your comic. It’s the same button that you see on the Add/Edit Post screen, and works in the same way.
The Add Media button in the Webcomic Media box doesn’t insert media into the content area of your comic; it adds comic media to your comic. Webcomic recognizes this media as special, and will display it appropriately on your site. Make sure you add comic media using the Webcomic Media box, and make sure you save your changes by publishing or saving a draft using the Publish box.
Adding media
Clicking the Add Media button in the Webcomic Media box will display the standard WordPress media popup, which lets you upload new media or select existing media from your library. You can upload or select any number of media items to associate with your comic. It’s more common to have one media item associated with a comic, but if you have large comic media or want to do more interesting technical feats with your comic media it might help to split them up into more than one item.
Once you’ve selected the media you want to associate with your comic, click Update. The Webcomic Media box will update with previews of your selected media.
Changing media
If you don’t like the media you see in the Webcomic Media box you can change it by clicking the Change Media button – which replaces the Add Media button – and selecting new media for your comic.
Removing media
If you don’t like one of the media items you see in the Webcomic Media box you can remove it by clicking the X in the corner of that media item.
Arranging media
If you have more than one media item associated with your comic and you want them displayed in a particular order, drag-and-drop the media into the order you like.
Missing link
Once you have a comic or two published you may want to go back to the All Comics screen to see how it looks. You’re probably more excited to see how those published comics look on your site… but if you go to your homepage, you’ll notice there’s nothing there! All that work, for nothing. Even if you go to a specific comic’s individual page, you won’t see the comic media you associated it with using the Webcomic Media box.
What gives? Well, Webcomic needs to integrate with your theme before it can display comic media. There are a variety of ways to do this, but the easiest is with the WordPress Customizer. When you’re ready, head to the Appearance > Customize screen to start integrating.